
Materials
- Wool for felting (roving wool) in a few different colours
- Felting needle
- Foam block
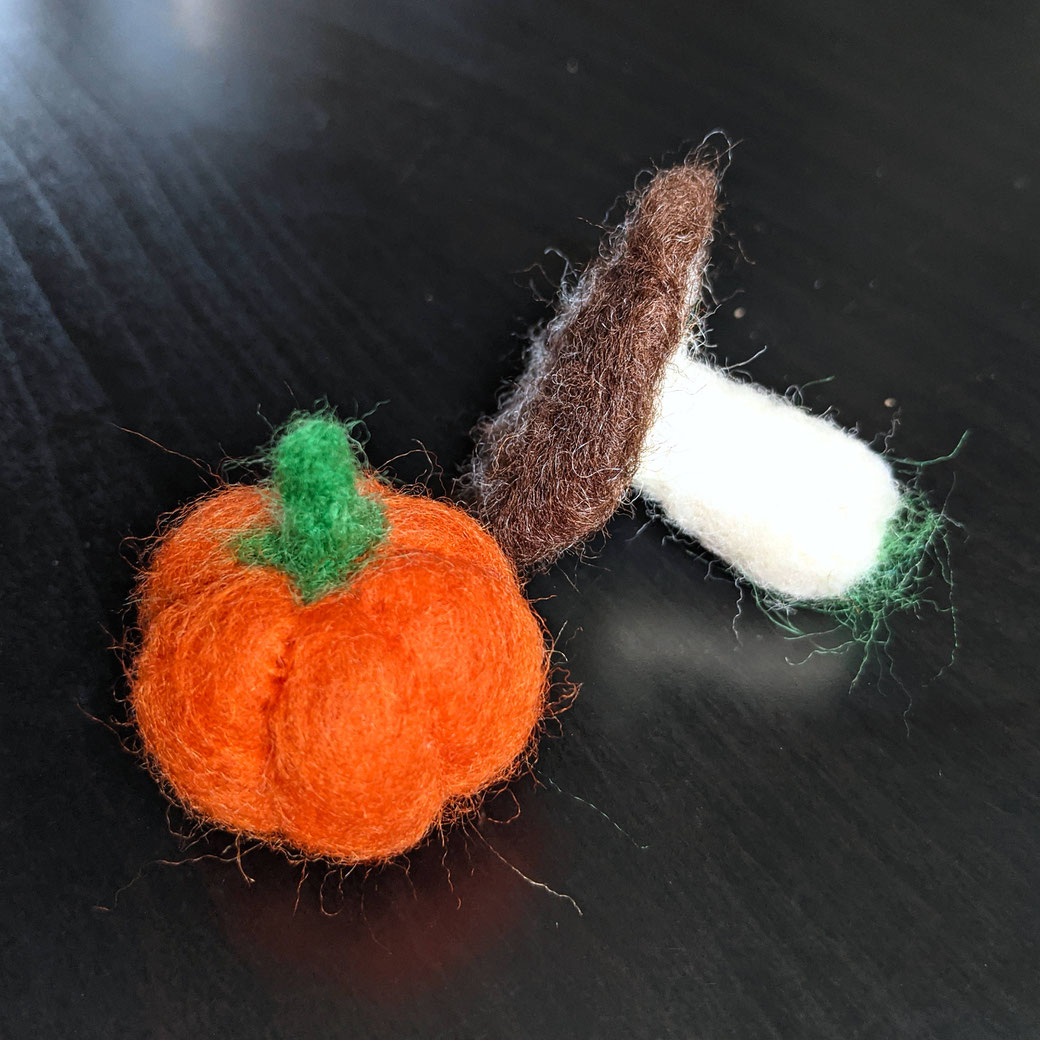
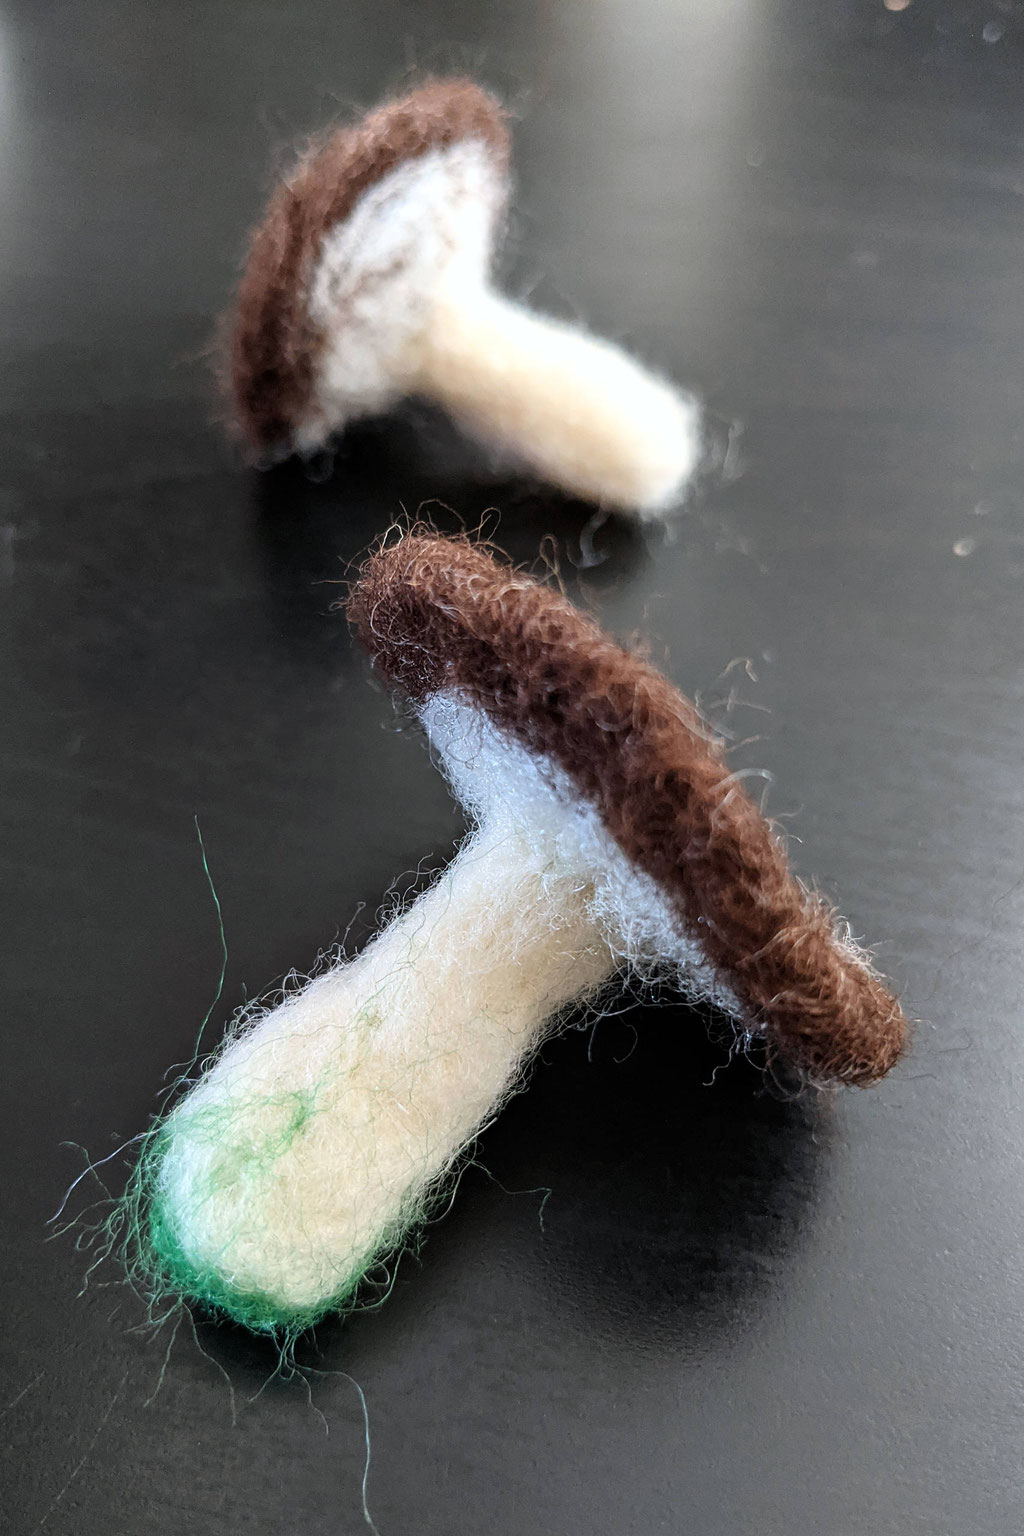
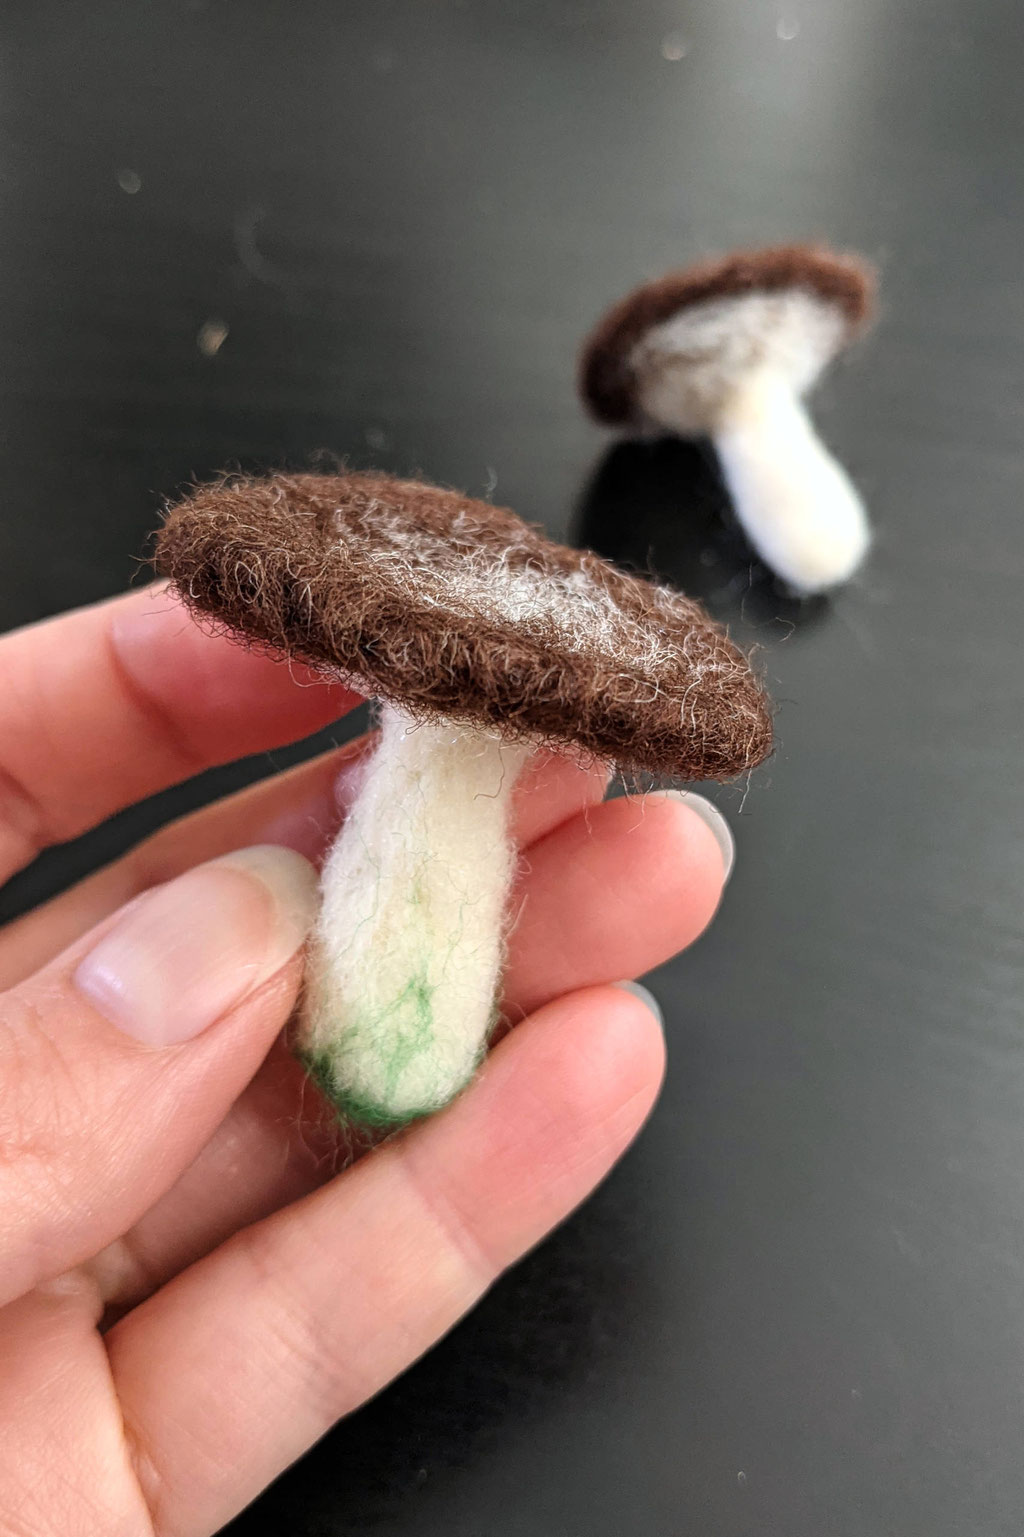
Felted Mushrooms
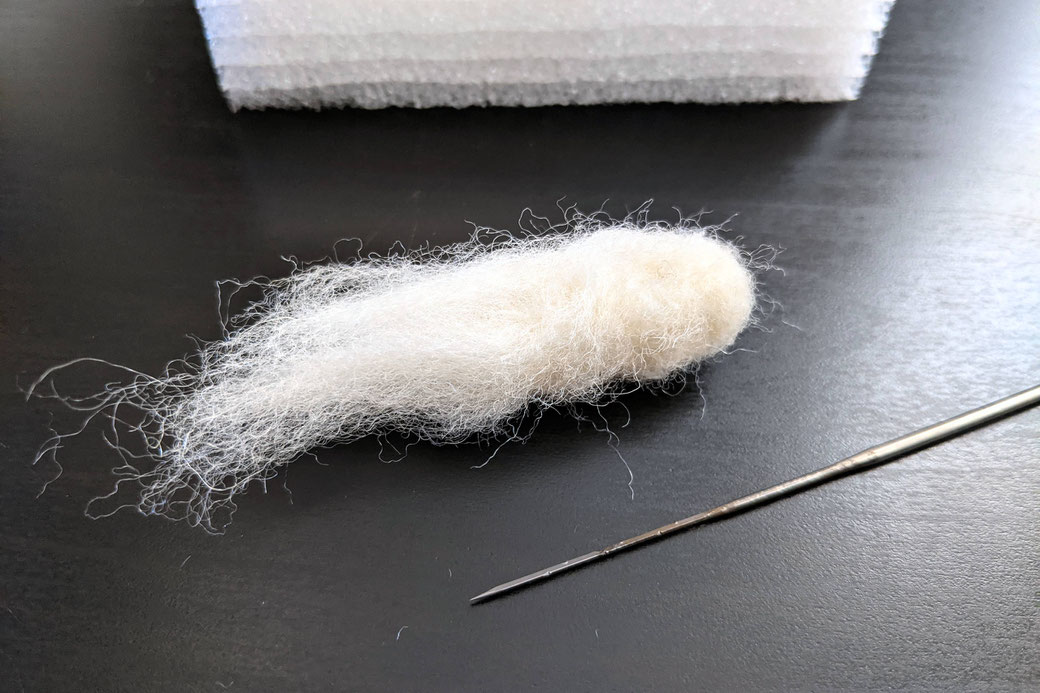
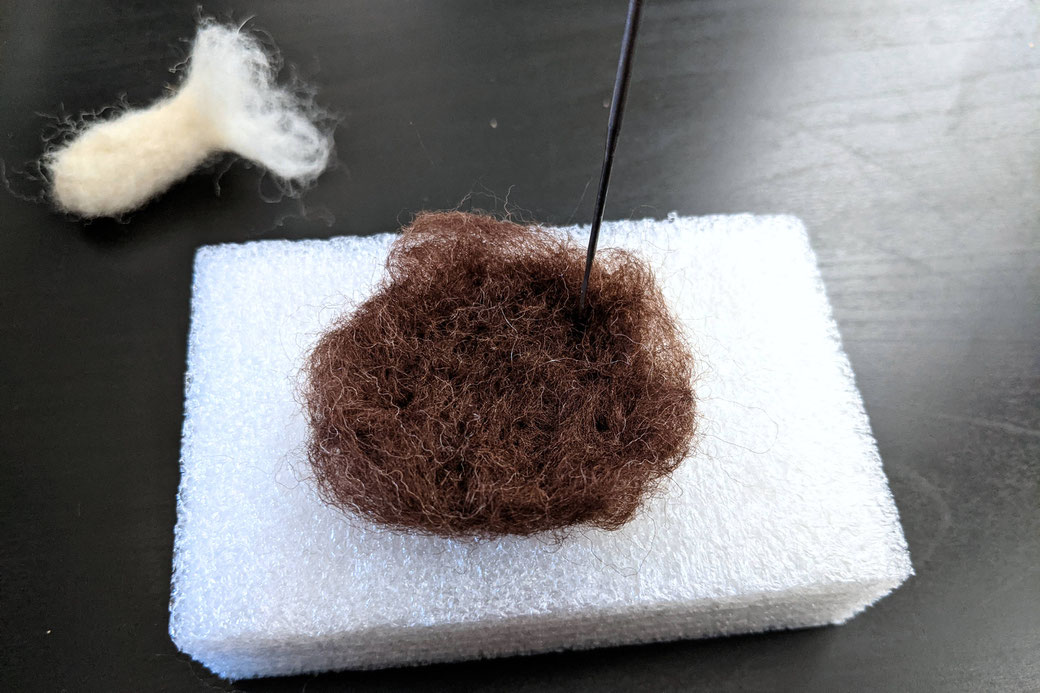
Step 1 - Stem
Step 2 - Cap
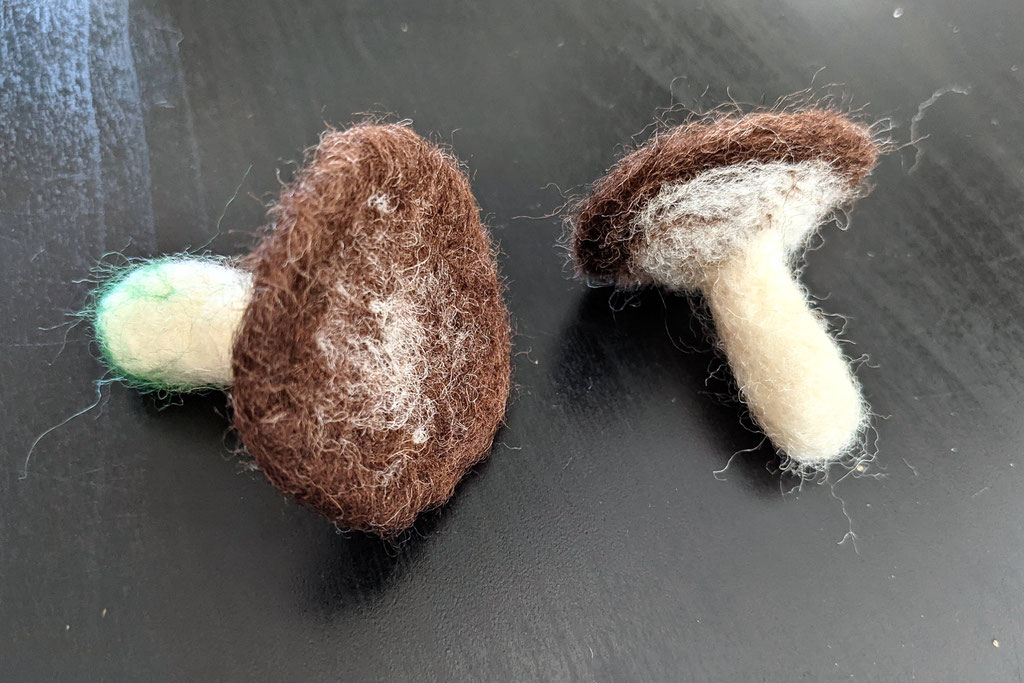
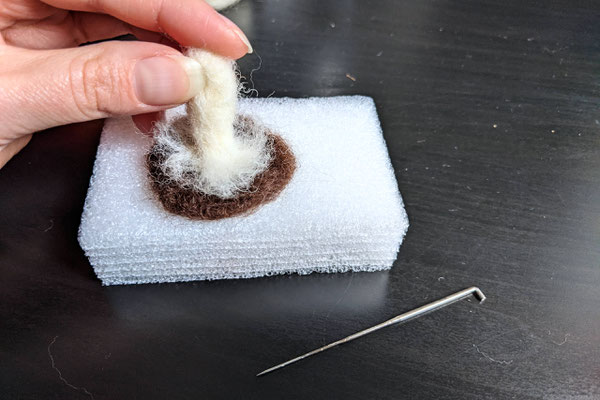
Step 3 - Join
Use the loose bits of wool to attach the stem. Spread them out to match the bottom of the cap and poke around until it's fixed. To felt from the top, hold the mushroom against the block. I quite liked the while bits coming through.

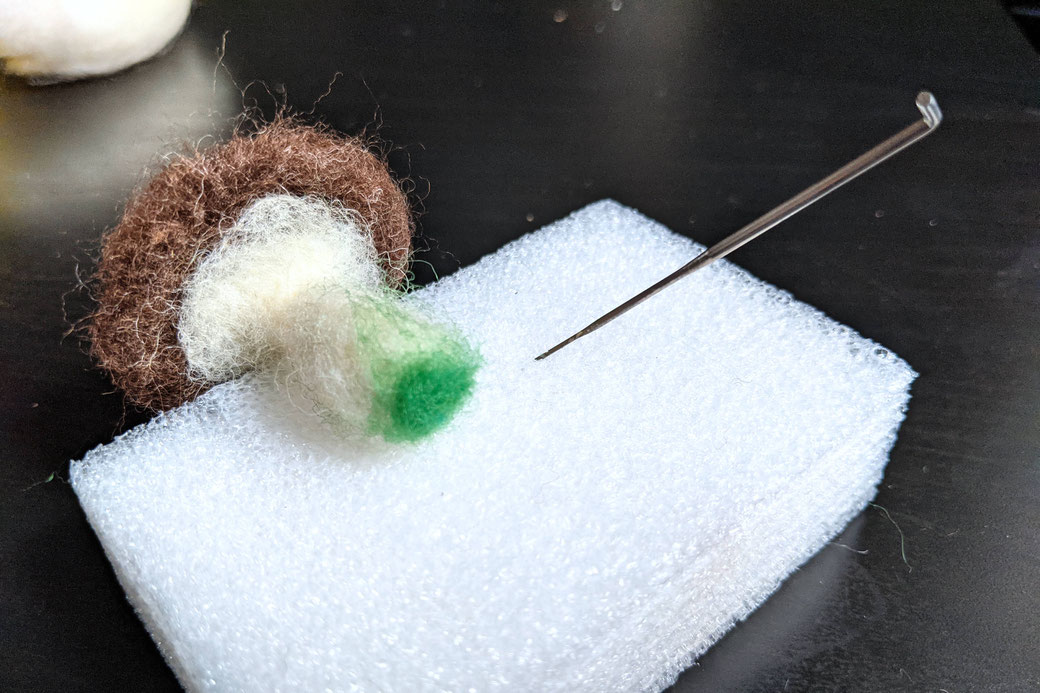
Step 4 - Details
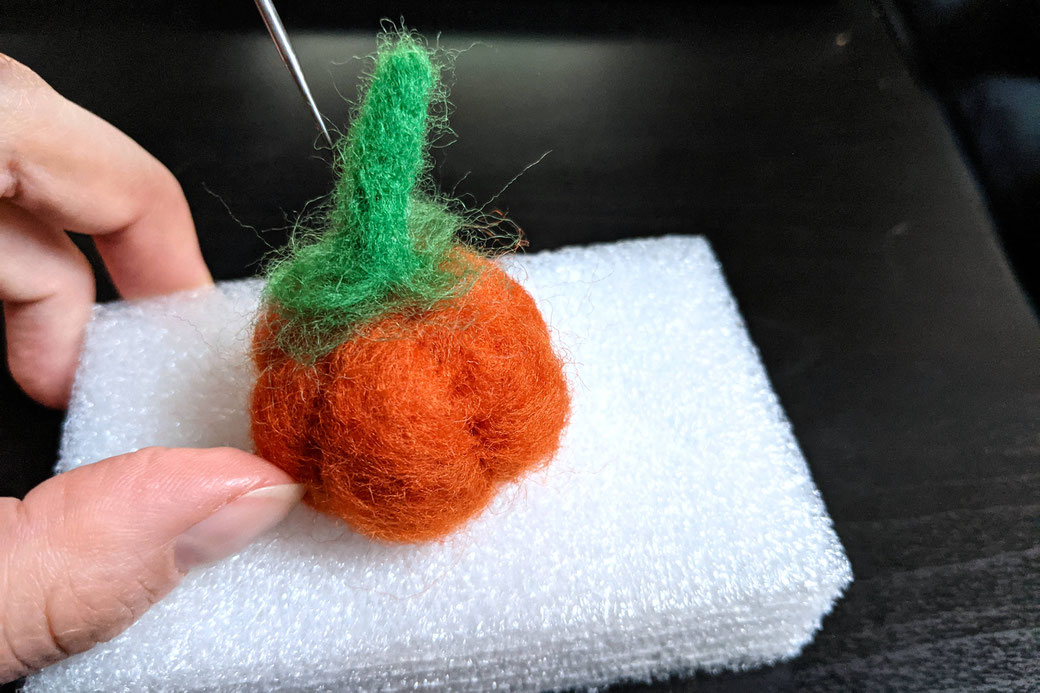
Felted Pumpkins
I started this one with a yellow-orange-red ball that I already had in my felting box. The second one (not pictured) had a white base to save on the coloured wool. You can do that with all shapes that have a bit more volume.
Step 1 - Base
Ok, the first step is making a ball in the size you like. For me, this took a while because I only had a single needle. If you own one of those fancier multi-needle tools, this is the time to use
it and you get a dense ball much quicker.

Step 2 - Shape
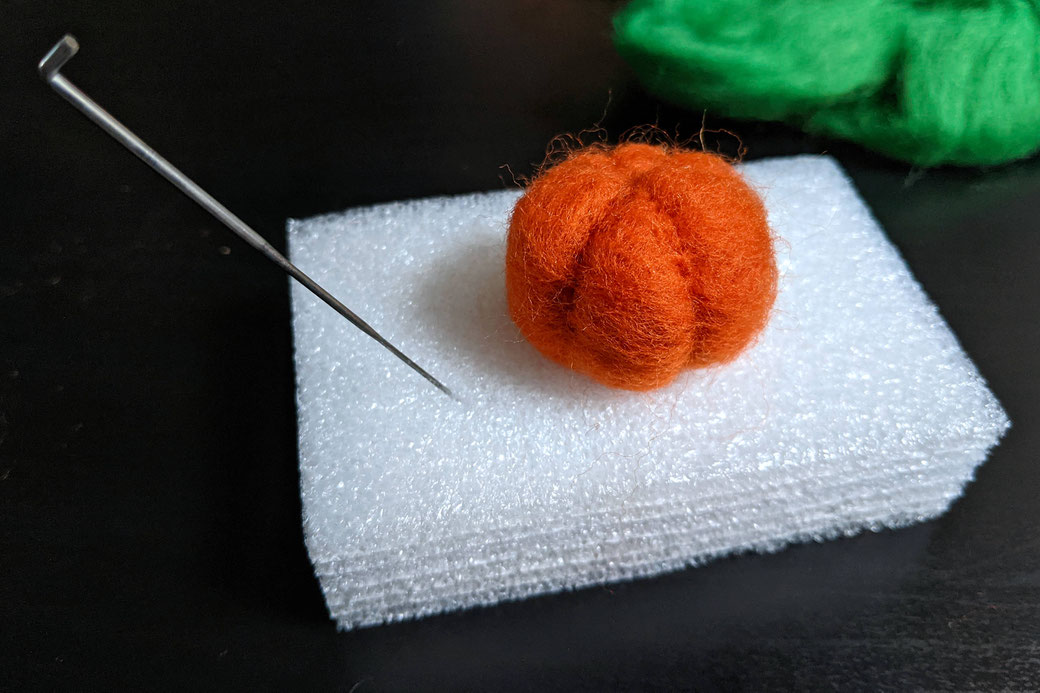
Step 3 - Stem
Zebraspider Updates
You may also be interested in:


Write a comment
yenchan (Tuesday, 24 December 2024 04:50)
very useful information I really appreciate your article
Janina (Saturday, 28 December 2024 16:44)
Thank you very much, Yenchan!