I always loved coloured pencils, so making this to carry one of my favourite art tools everywhere is a bit like a childhood dream. I got back to them just a
little while ago when I started with a colouring book and used them for my own art. A wrap like this
can be used for many different kinds of pens and pencils, as well as for brushes and other art supplies.
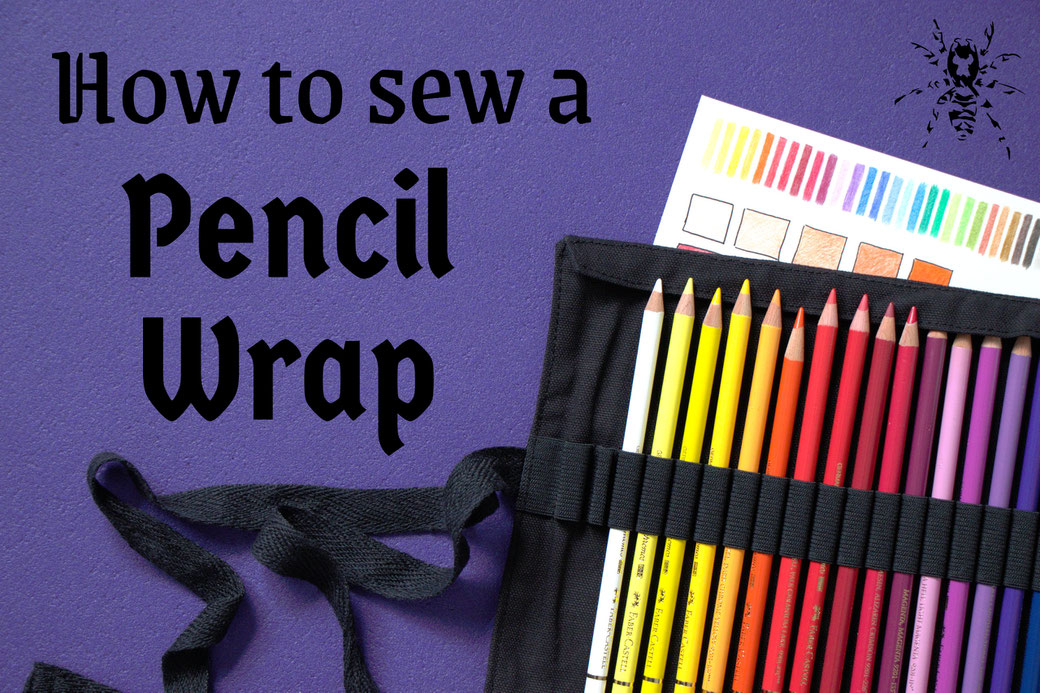
It's so easy to make; I don't have step-by-step pictures. I started with two rectangles of black canvas fabric (same as the patches) in 52 x 22 cm and two with 6 x 27 cm for the flaps at the top. I folded the small ones in
half and closed the sides at an angle. After cutting off the corners and turning them inside out, I sew along the edges to stabilise the flaps. You also need about one
meter of cotton tape for closure.
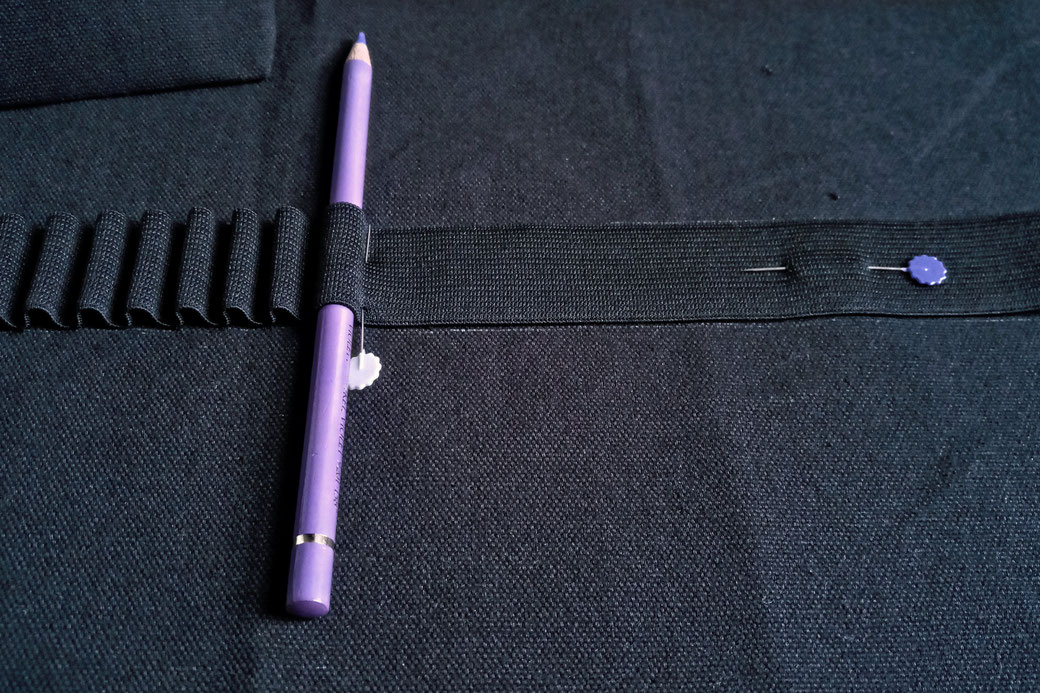
The most tricky and laborious part is sewing on the elastic. I used a 3 cm wide one for the central section and some leftovers for the
kneadable eraser and the pencil sharpener. The best way to get in on right is to use the pens or pencils you want to put in the wrap to measure how the loops need to be. I
made 40 loops for pencils and left some space at the end for easier closure.
Using elastic for the pencils has a few advantages. I have seen quite a few tutorials for roll-ups with small pockets, and they seem a bit
quicker to make, but I was afraid the pencils might fall out more easily. I also thought about how it will be when the pencils are pretty used and just half the size. They
might disappear in the pocket but will stay put nicely with the elastic.
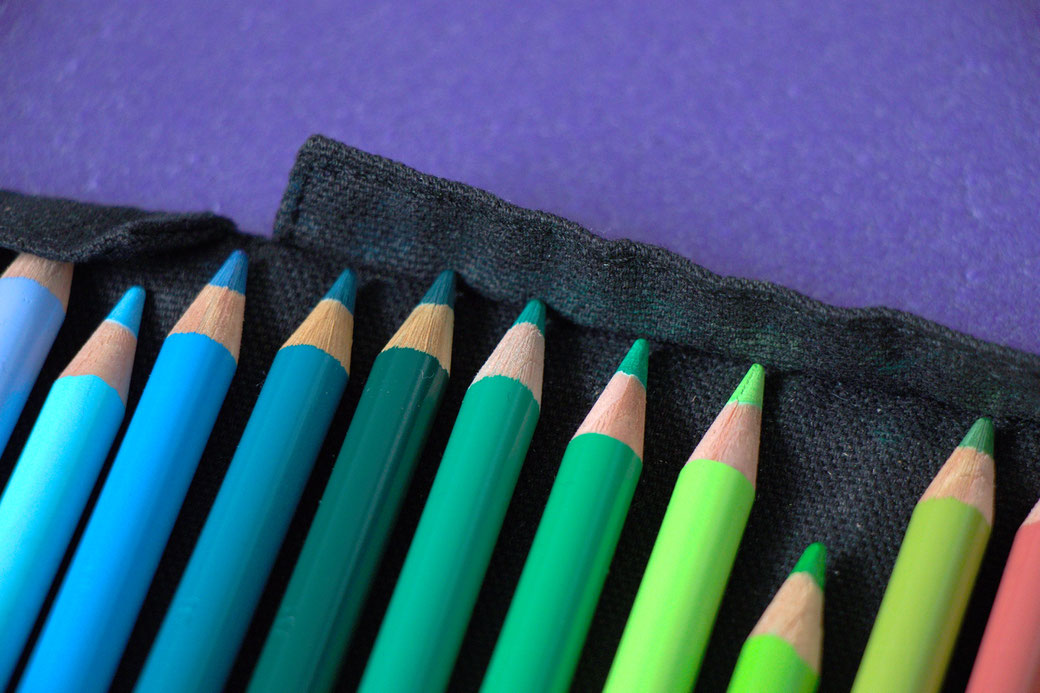
I got a 24 set of Polychromos and a few single ones, but I wanted to buy some missing shades of purple, turquoise and cold grey. I also added
a colourless blender, and now I still have space for 2 more pencils. The total length of my wrap is 50 cm. Of course, you can make yours longer or shorter, depending on
what you want to store. The 20 cm height fits most pens.
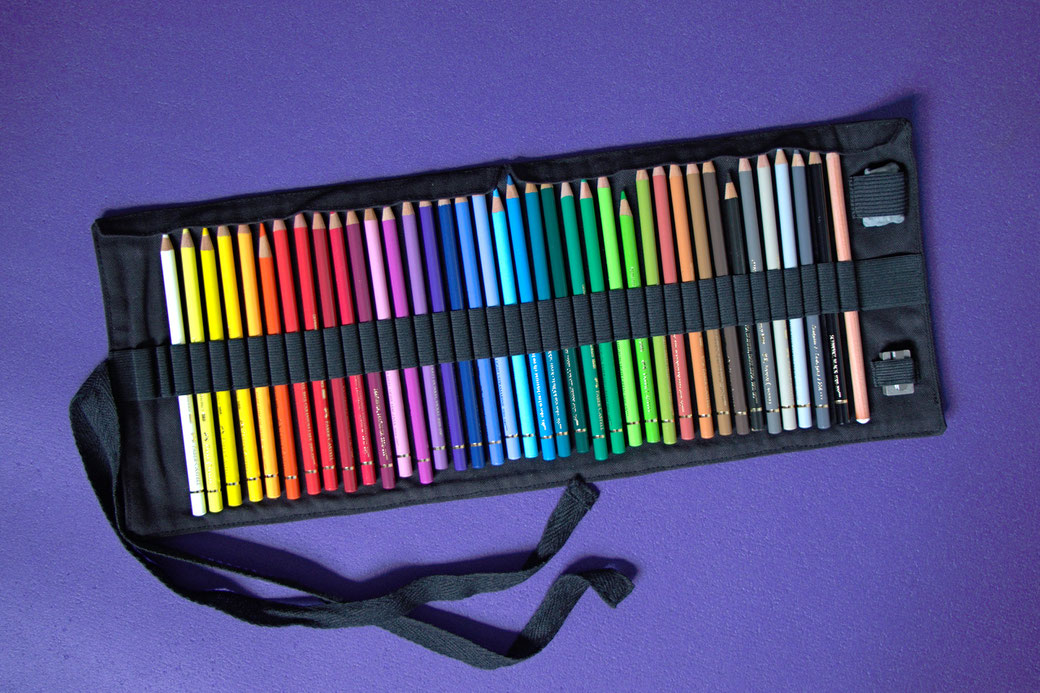
Before sewing everything together, make sure the right sides face each other, and the flaps and the ribbon are correctly aligned on the inside. Leave an opening
to turn the wrap inside out. But cut the corner fabric before doing this, and ironing the seams also helps a lot. The flaps can be a bit stubborn at this point. The last step is to sew
everything down all around next to the edge.
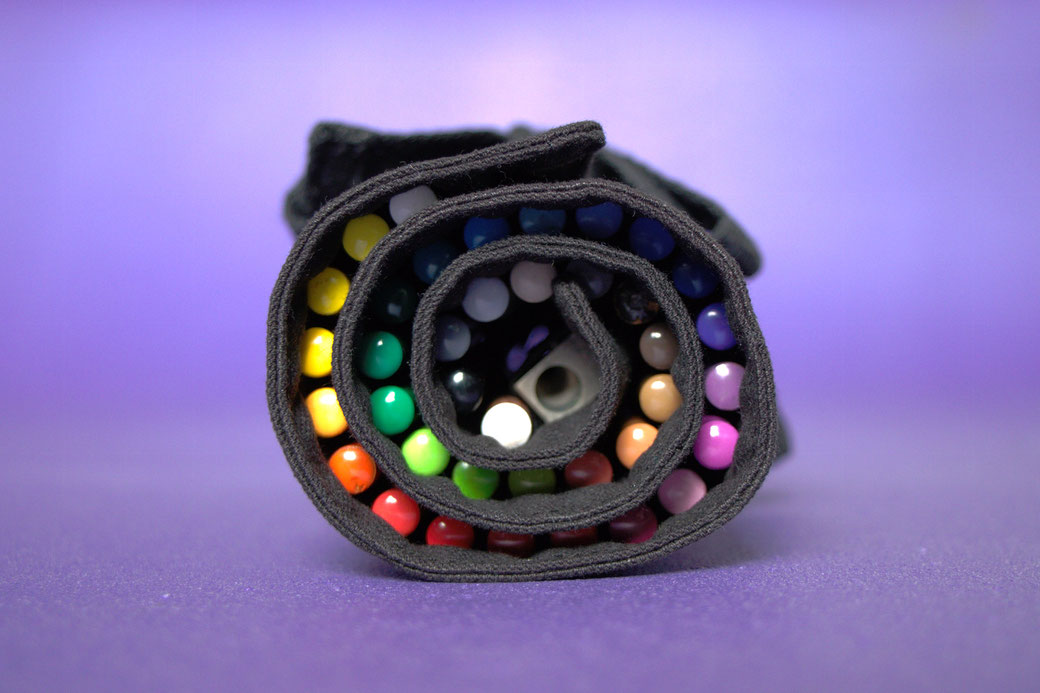
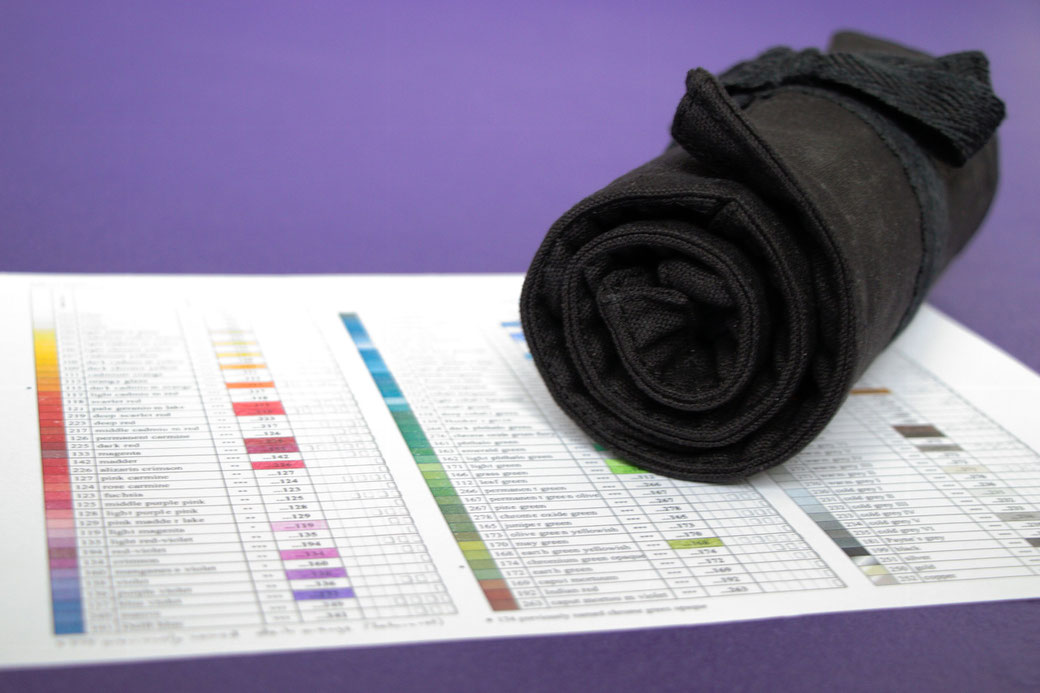
That's it. Roll it up and tie the ribbon around it. I actually didn't mean to share the drawing as it is just a holiday memory I forgot to take a photo of. It's
not intended to be realistic, but I swear the hills looked as picturesque as I drew them. I found that smooth (hot pressed) watercolour paper works well with coloured pencils and sketchbooks
with thicker paper.
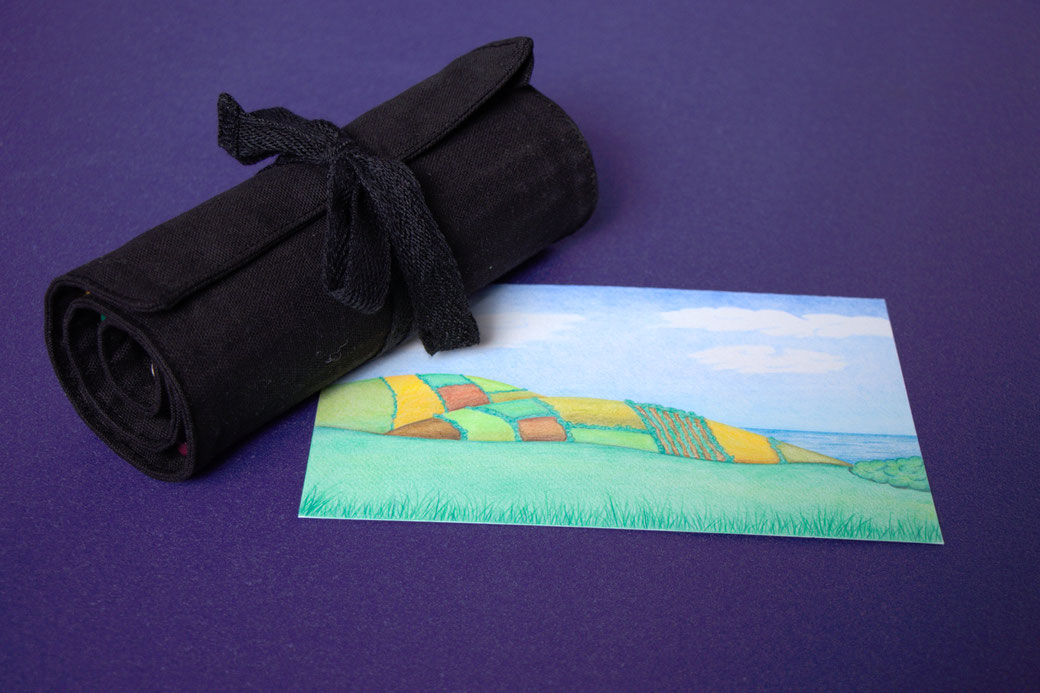
I mainly made it for my last vacation. A bit
of a pity that I didn't take any photos of it on the beach.
Let me know if something is unclear or if you have any further questions.
Zebraspider Updates
Don't miss any new one-of-a-kind design! Be the first to know about shop updates, events and the best blog posts by joining the email list!


Write a comment